anaconda는 데이터 사이언스, 머신 러닝과 AI에 활용할 수 있는 여러 패키지를 찾고 설치할 수 있게 도와주는 파이썬 배포판 플랫폼으로 오픈소스이다. 설치를 하면 command line 도구와 GUI로 된 Anaconda Navigator를 이용하여 환경과 패키지를 관리할 수 있다.
1. https://www.anaconda.com/download 접속하여 설치 파일을 다운로드 한다. 이때 가입 폼이 있지만 Skip registration을 클릭하여 굳이 가입하지 않고도 다운로드가 가능하다.

2. OS에 따라 설치 파일이 다르고, Mac의 경우 인텔 칩이냐 애플 실리콘 칩이냐 그리고 GUI가 있는 installer인지 command line installer인지 선택하여 설치 파일을 다운로드 할 수 있다. 설치 편의성을 위해 Graphical Installer를 다운로드 하였다.

3. Graphical Installer는 .pkg 파일이 다운로드 되니 더블 클릭하여 일반적인 맥용 설치 파일처럼 동의하고 패스워드 넣고 설치하면 된다. 설치를 하면 command line interface인 conda와 데스크탑 애플리케이션인 Anaconda Navigator를 이용하여 개발 환경과 패키지를 관리할 수 있다.

4. 설치 후에 터미널에서 conda 명령어를 사용할 수 있다. 그런데 설치가 다 되었음에도 명령어를 인식하지 못할 수도 있다.
lazy@MacBook-M1-Pro ~ % conda
zsh: command not found: conda
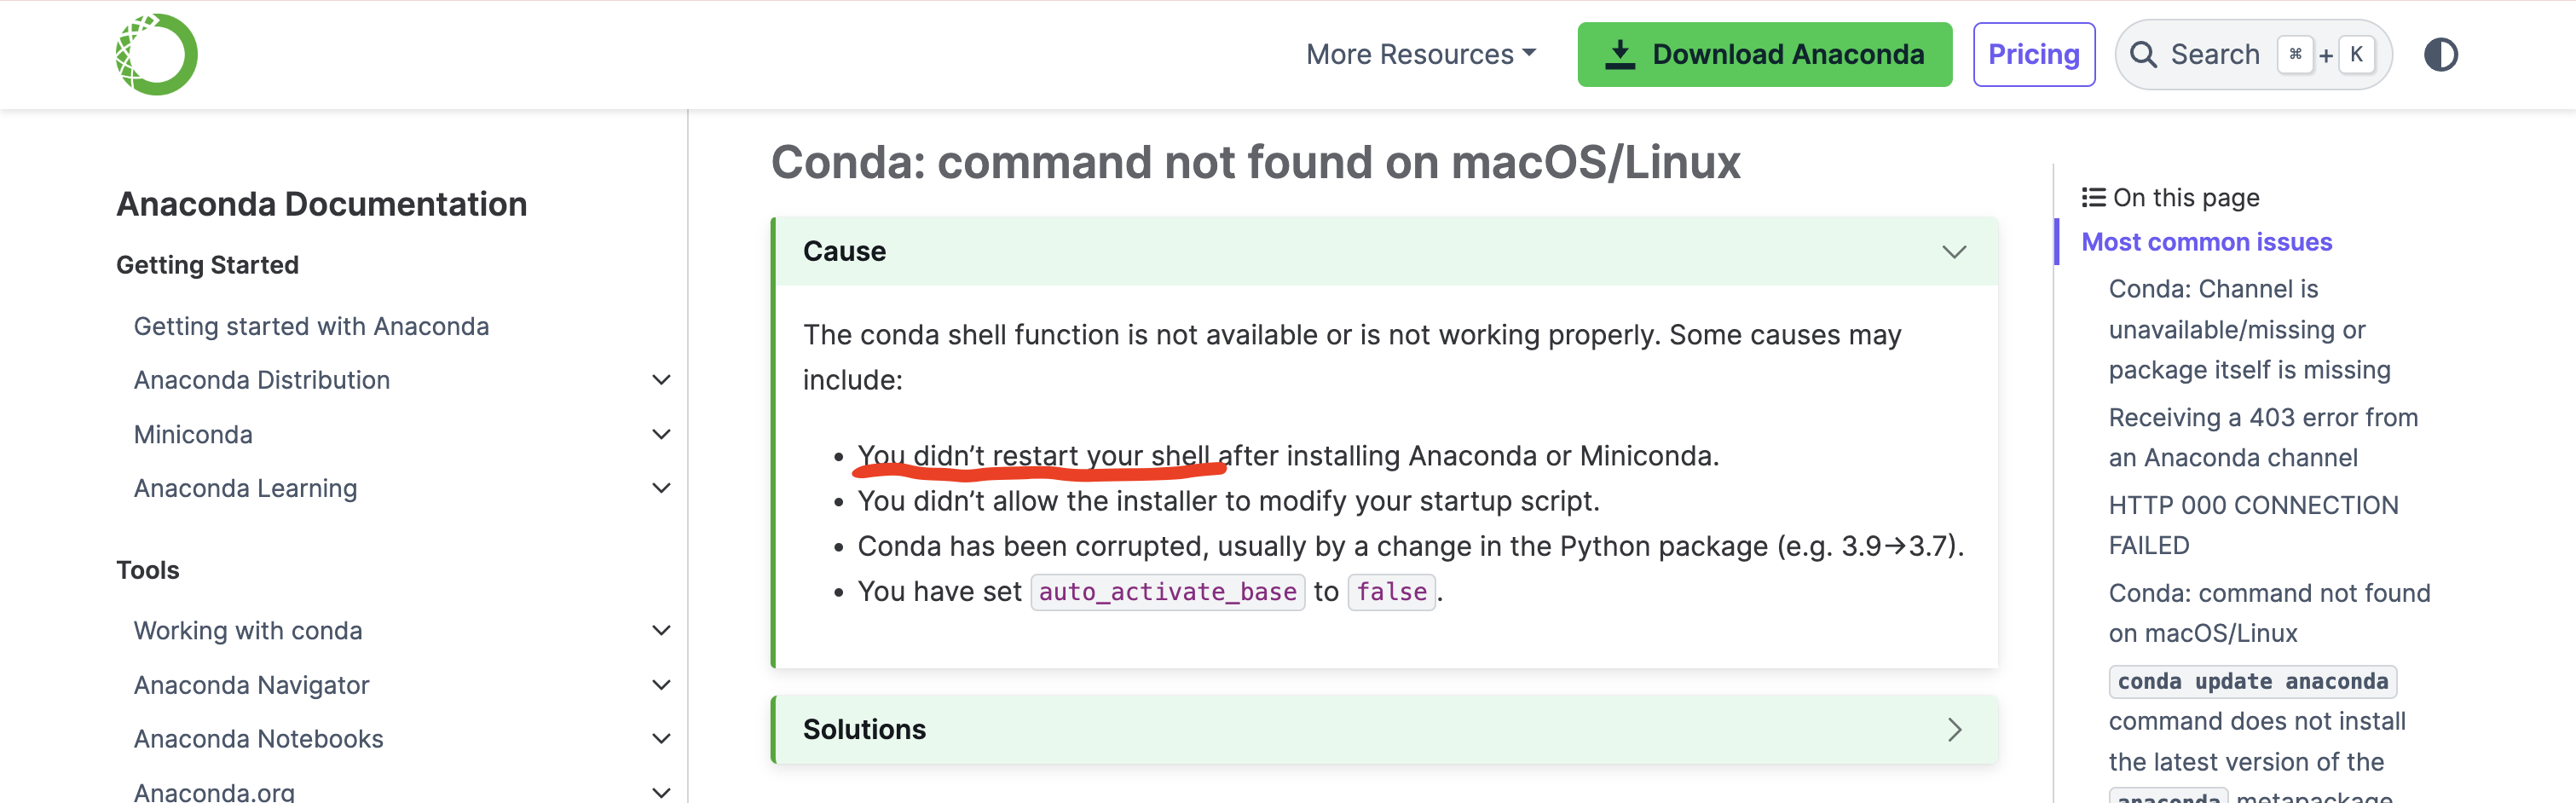
이런 경우, 공식 가이드 문서 troubleshooting(https://docs.anaconda.com/reference/troubleshooting/#conda-command-not-found-on-macos-linux)에 보면 몇 가지 원인과 해결 방법을 안내해 둔 내용을 참고하여 조치를 해보면 된다. 그 중 가장 손쉽게 해볼 수 있으면서도 유력한 원인은 anaconda 설치 후 shell을 새로 실행하지 않았기 때문이다.
shell을 새로 열어 which conda를 해보거나 conda list와 같은 명령어를 터미널에서 실행했을 때 동작하는 것을 확인할 수 있다.
(base) lazy@MacBook-M1-Pro ~ % which conda
conda () {
	\local cmd="${1-__missing__}"
	case "$cmd" in
		(activate | deactivate) __conda_activate "$@" ;;
		(install | update | upgrade | remove | uninstall) __conda_exe "$@" || \return
			__conda_reactivate ;;
		(*) __conda_exe "$@" ;;
	esac
}
(base) lazy@MacBook-M1-Pro ~ % conda list
# packages in environment at /opt/anaconda3:
#
# Name                    Version                   Build  Channel
_anaconda_depends         2024.10         py312_openblas_0
단, 기본 터미널 쉘에서 conda가 활성화되는 것을 방지하기 위해서는 아래 conda config를 설정해야 한다.
(base) lazy@MacBook-M1-Pro ~ % conda config --set auto_activate_base false'Setting&Registration > Macbook M1 Settings' 카테고리의 다른 글
| java 설치 (1) | 2025.02.15 |
|---|---|
| nvm을 이용한 node 설치 방법 및 자주 쓰는 nvm 명령어 옵션 (0) | 2025.02.09 |
| homebrew path 설정 (0) | 2025.02.09 |